Leaky Faucet? Quick Fixes to Stop the Drip and Save Water
Updated for 2026 to reflect current UK emergency call-out pricing and insurance changes.
1. Introduction
A leaky faucet is more than just a minor annoyance that keeps you awake at night; it is a significant source of water waste. A faucet that drips just once per second can waste over 3,000 gallons of water per year, driving up your utility bills and impacting the environment. Fortunately, repairing a dripping tap is one of the most straightforward DIY home repairs. Most fixes take only 15 to 30 minutes to complete.
What you’ll need: An adjustable wrench, a flathead and Phillips screwdriver, replacement rubber washers, O-rings, or a replacement ceramic cartridge, depending on your faucet type. While this is an easy fix, if the faucet body is cracked or the shut-off valves are seized, it’s time to call a professional. You can review typical Plumbing Repair Costs if you need to hire an expert.
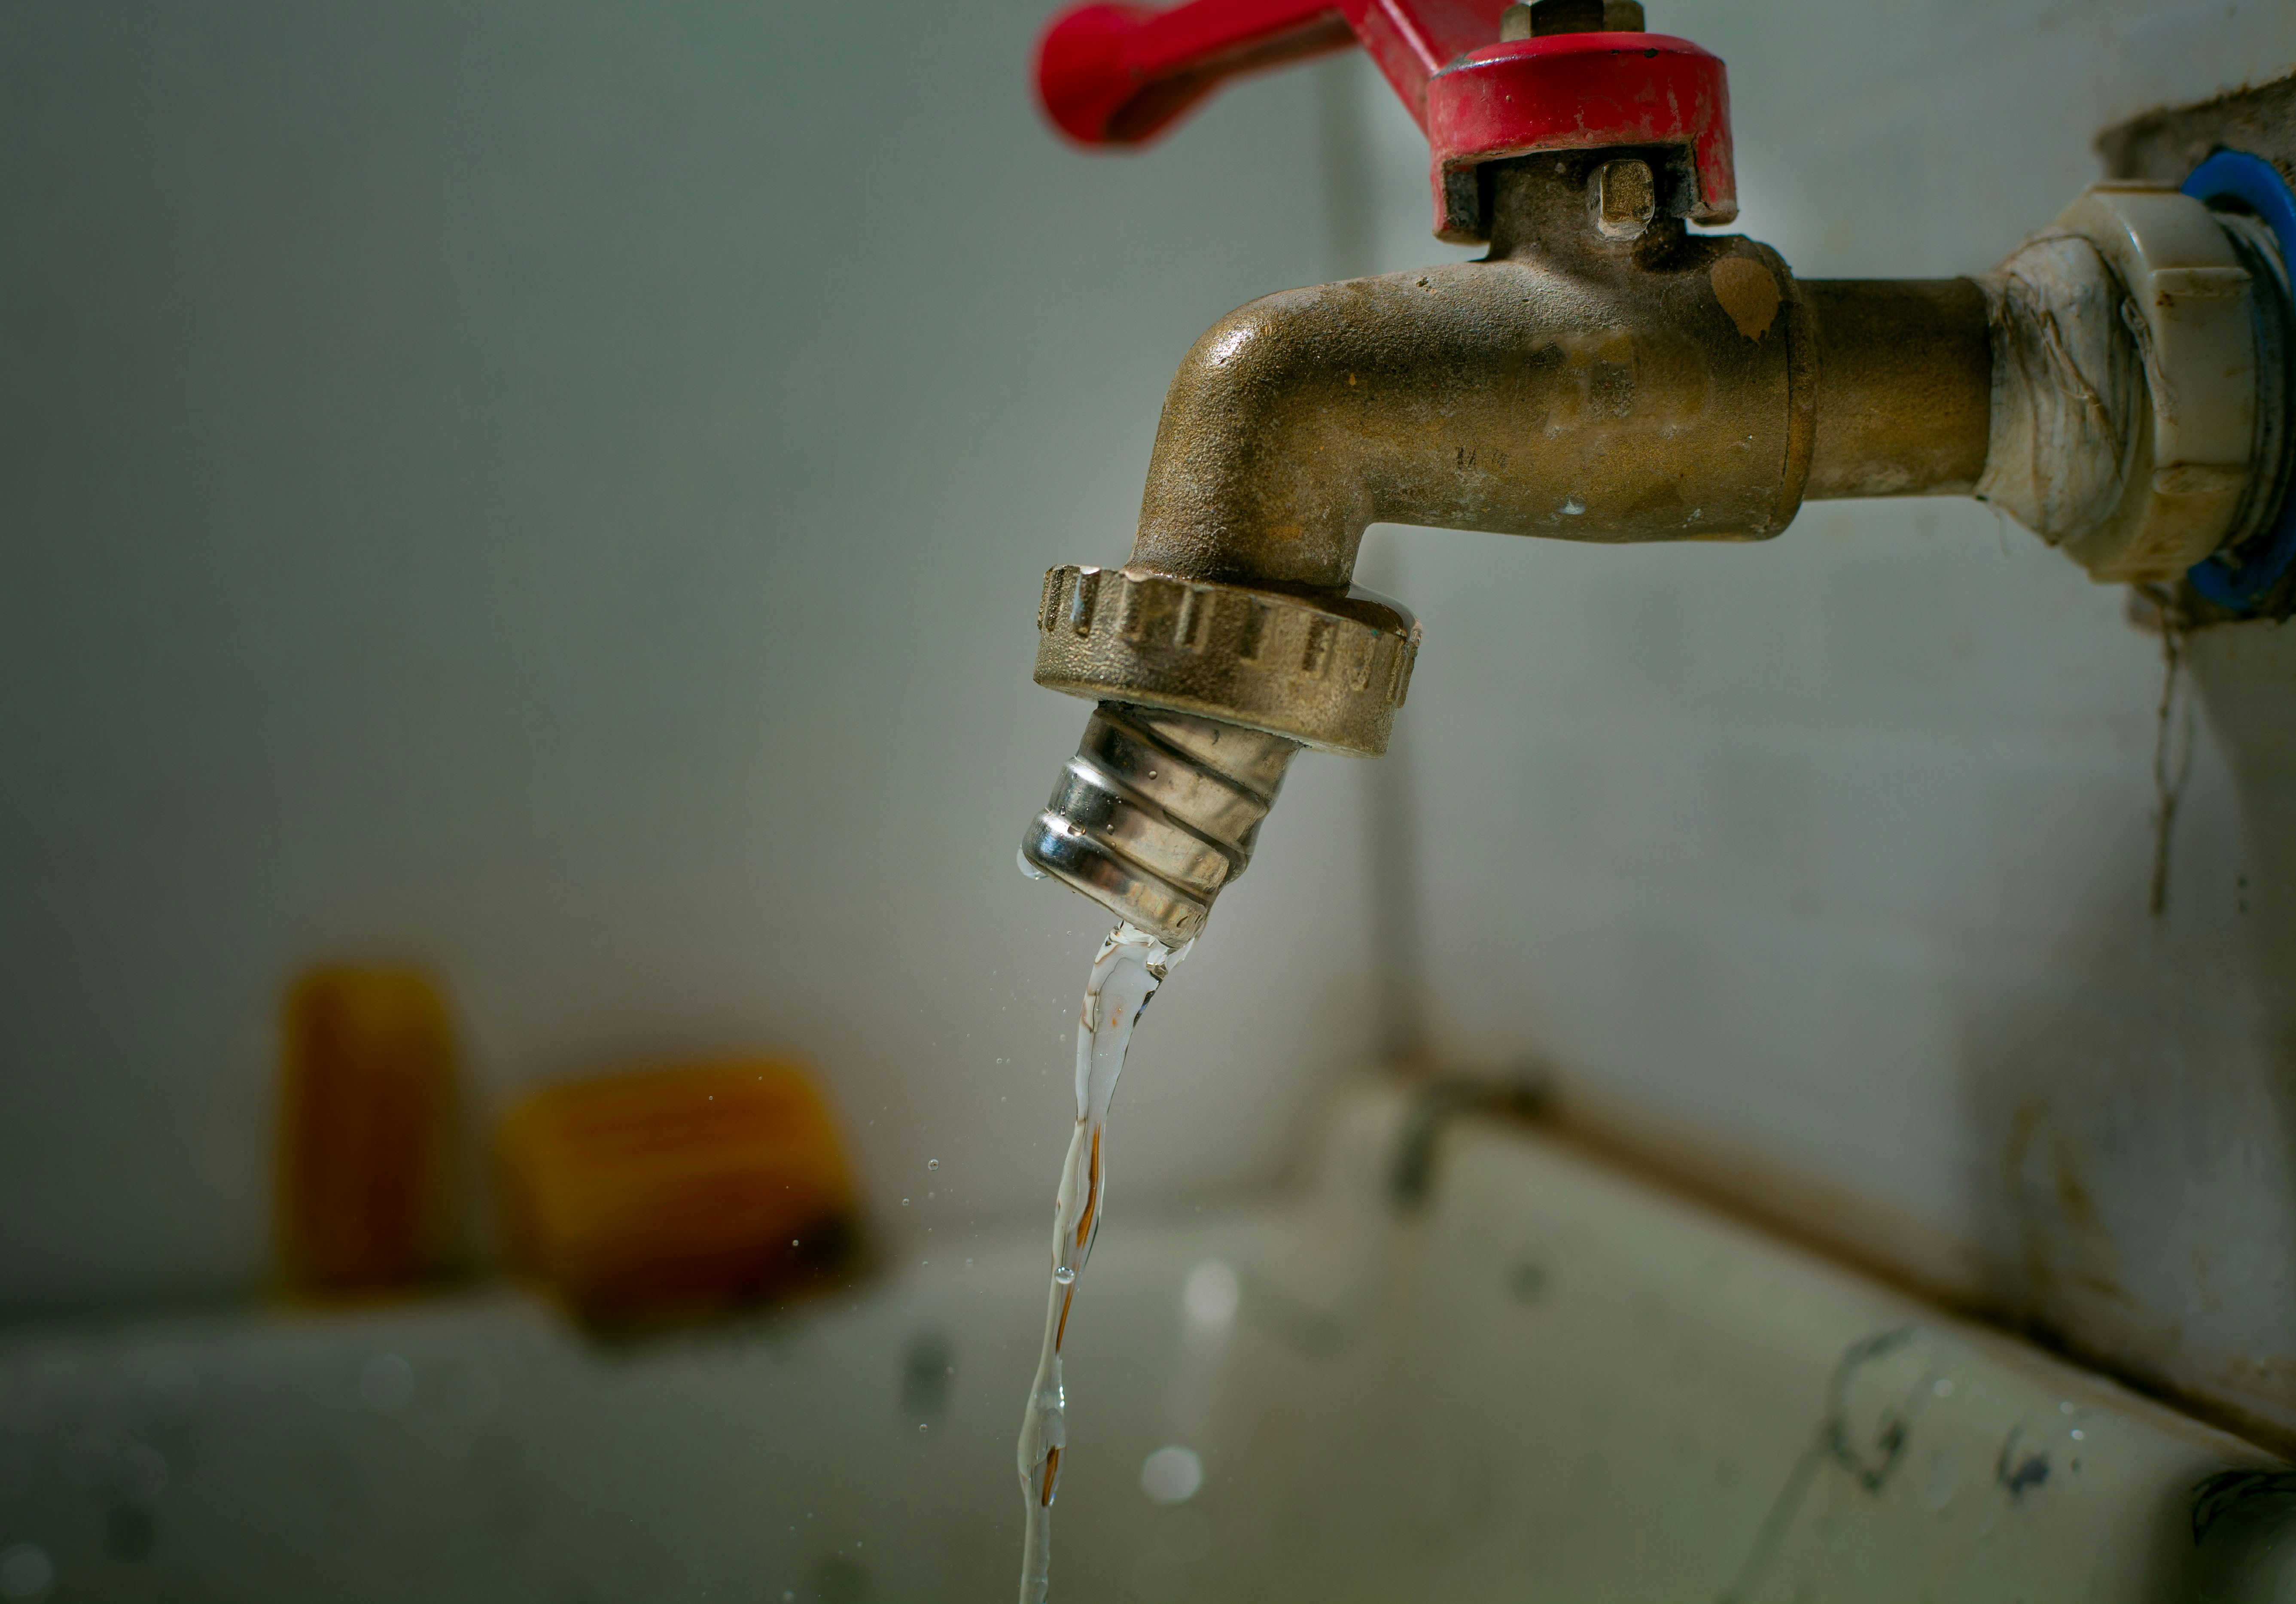
A single dripping faucet can waste thousands of gallons of water annually.
2. Quick Diagnosis
Before you start taking things apart, you need to identify exactly where the leak is originating and what type of faucet you have. This quick diagnosis will save you multiple trips to the hardware store:
- Check the drip location: Is the water dripping from the end of the spout, leaking around the base of the handles, or pooling at the very base where the faucet meets the sink?
- Constant vs. Intermittent: Does it drip continuously regardless of the handle position, or only after you run the hot or cold water?
- Check water pressure: Is the drip worse when other appliances are running, suggesting a pressure issue?
- Look for water stains: Inspect the counter and the cabinet below for hard water stains, which indicate how long the leak has been present.
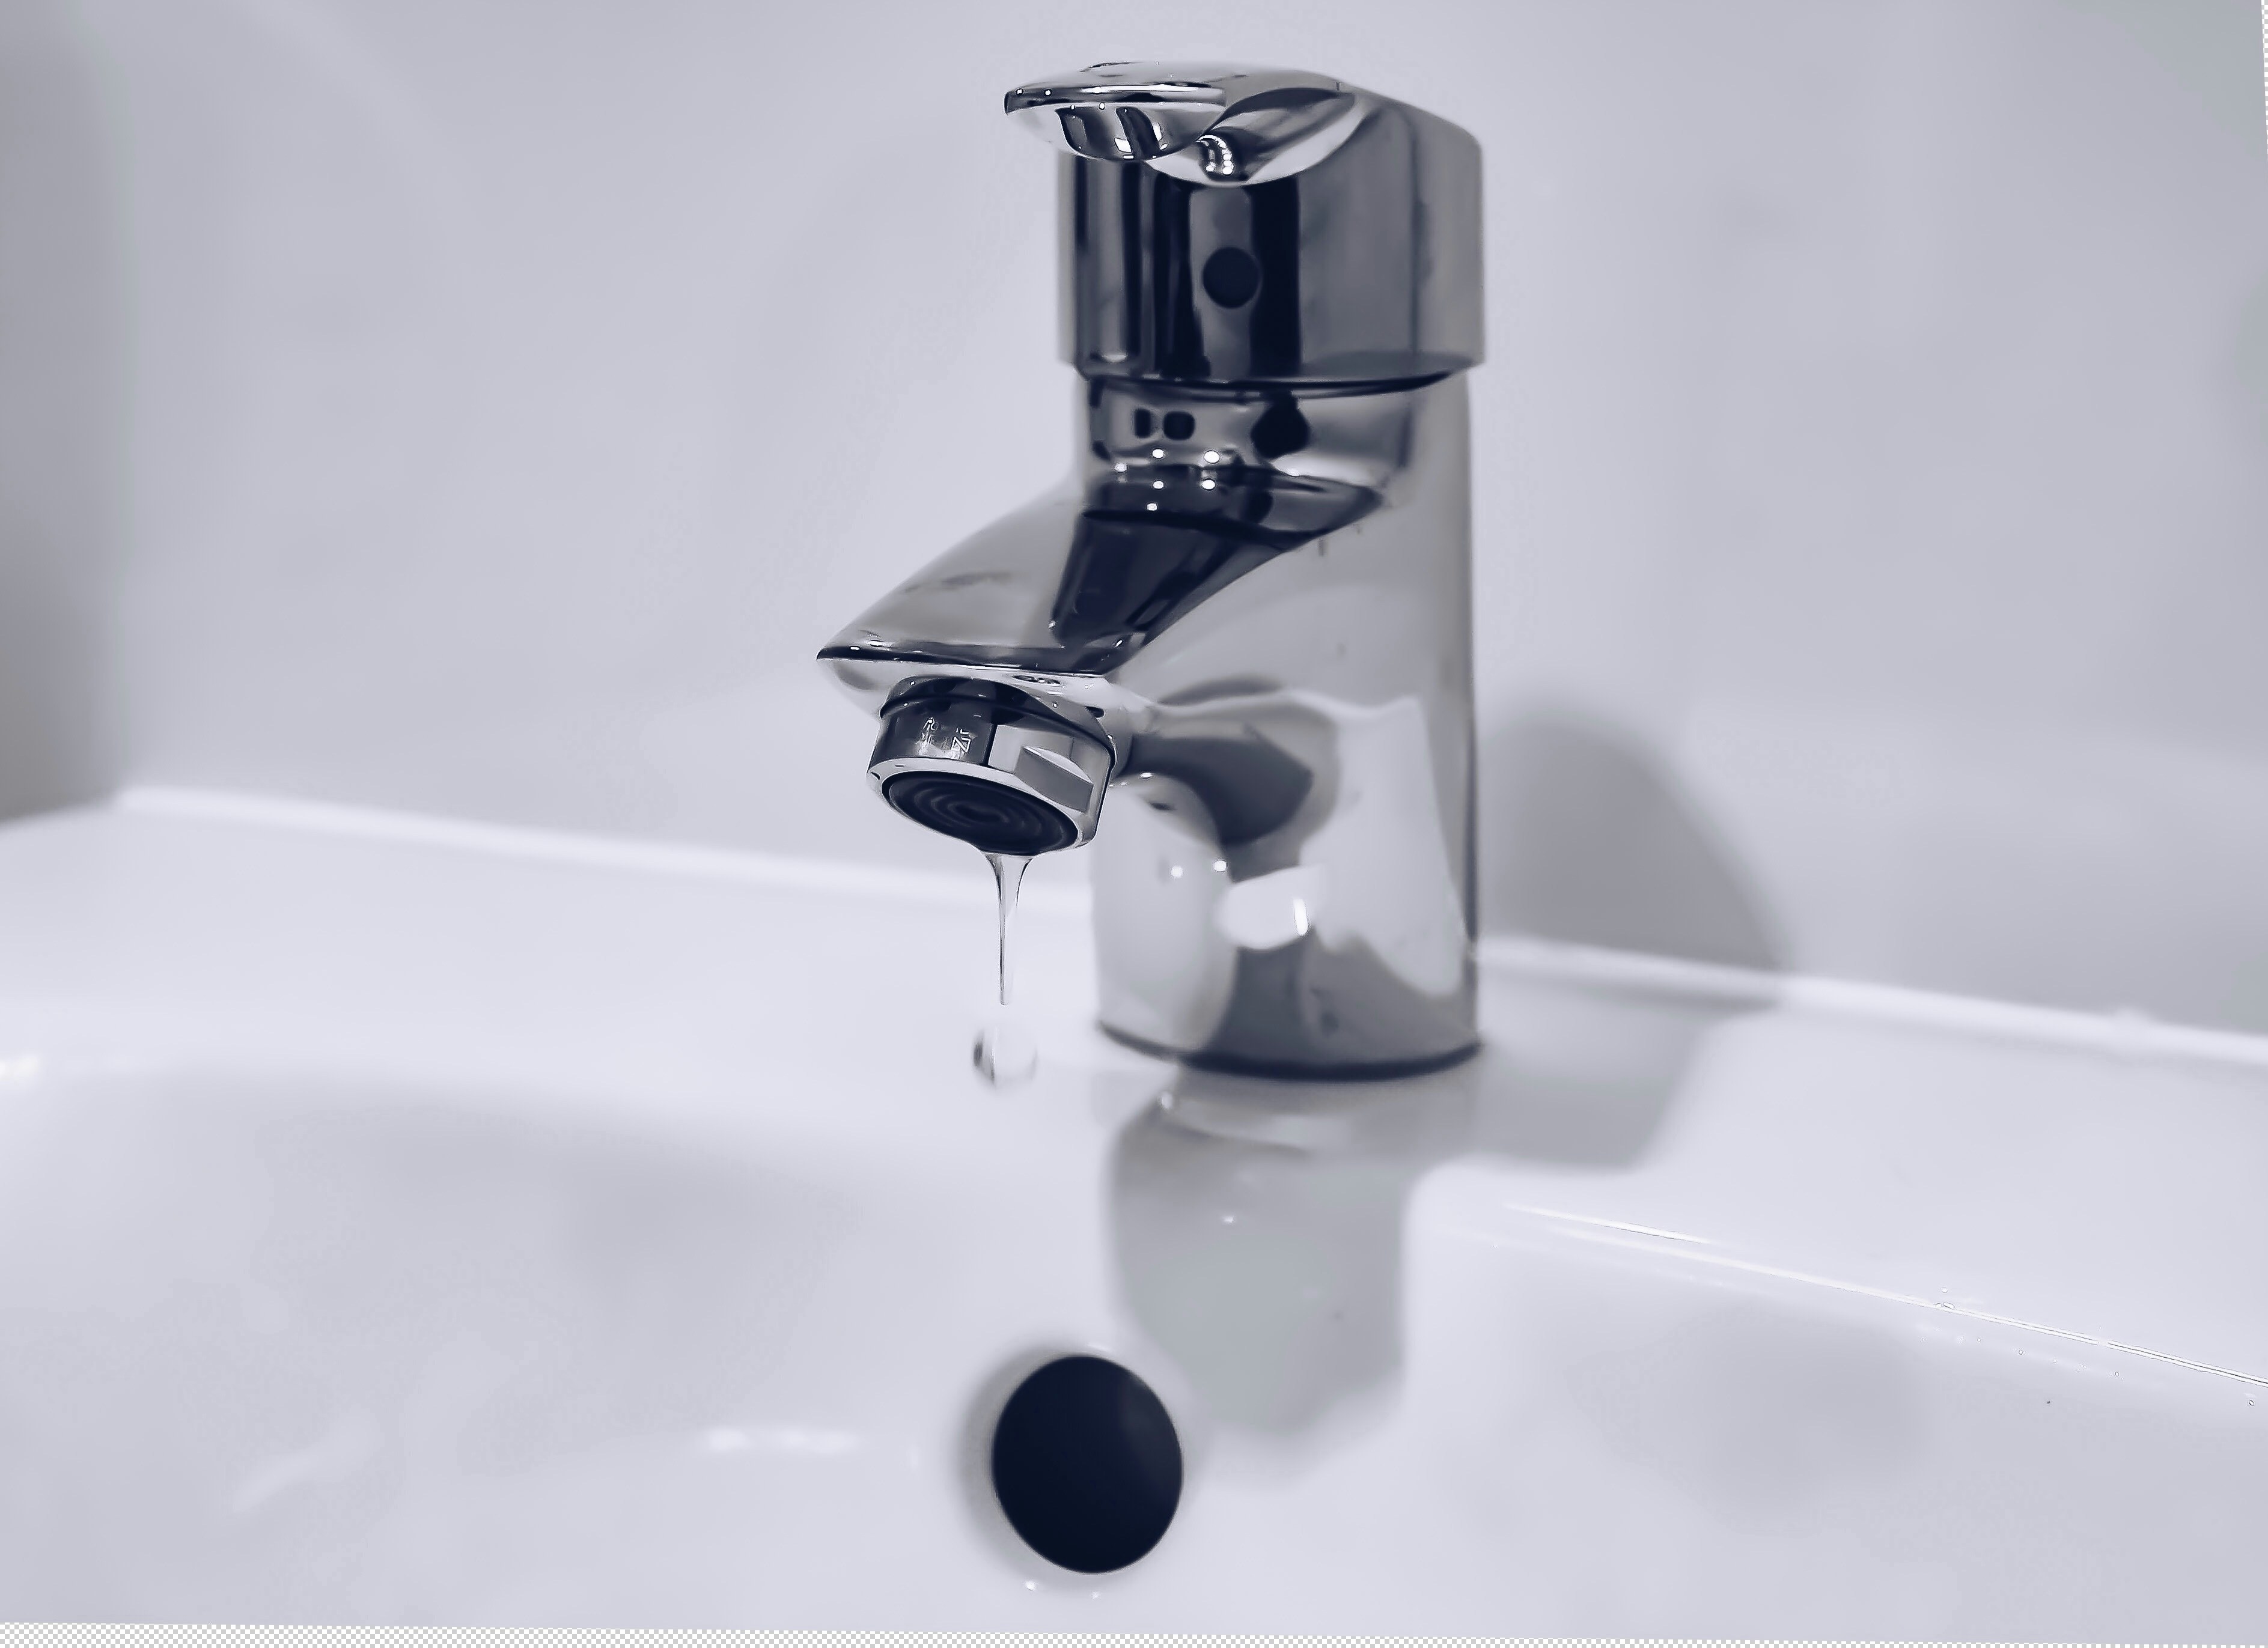
Identifying whether the leak is from the spout or the base helps pinpoint the faulty seal.
3. Step-by-Step Fix
- Turn off the water supply: This is the most critical step. Look under the sink for the two silver or brass shut-off valves attached to the water supply lines. Turn the oval handles clockwise until they stop. Turn on the faucet to drain any remaining water and verify the supply is completely off. Block the sink drain with a rag so small screws don’t fall in.
- Identify your faucet type: Faucets generally come in four types: compression (has two handles and rubber washers), ball, cartridge, and ceramic disk. Removing the handle will reveal the internal mechanism. Use a flathead screwdriver to pop off the decorative cap on the handle, then unscrew the retaining screw to lift the handle off.
- Replace the washers (Compression Faucets): If you have an older two-handle faucet, use an adjustable wrench to unscrew the packing nut. Pull out the valve stem. At the bottom of the stem is a rubber washer held by a brass screw. Remove the screw, pop out the old flattened washer, and insert an exact replacement. Coat it in heat-proof plumber’s grease.
- Replace the O-rings: If the faucet is leaking from the base or the handles, the O-rings are likely degraded. Once the handle and valve stem are removed, locate the rubber O-rings around the body of the stem. Cut them off with a utility knife, apply plumber’s grease to the new O-rings, and roll them into the grooves.
- Replace the cartridge (Modern Faucets): For a single-handle cartridge faucet, remove the handle, unscrew the retaining nut, and pull the plastic or brass cartridge straight up and out. Take the old cartridge to a hardware store to buy an exact match. Drop the new cartridge into place, ensuring the alignment tabs sit perfectly in the slots.
- Tighten all connections: As you reassemble the faucet, ensure the retaining nuts and packing nuts are threaded correctly. Use your wrench to tighten them snugly, but do not over-tighten, as crushing the new rubber seals or stripping the brass threads will cause immediate new leaks.
- Test the fix: Ensure the faucet handles are in the “off” position. Slowly turn the water supply valves under the sink back on (turning counter-clockwise). Watch closely for any immediate leaks around the base. Turn the faucet on, let the air sputter out, then turn it off and verify the dripping has stopped completely.


4. Troubleshooting
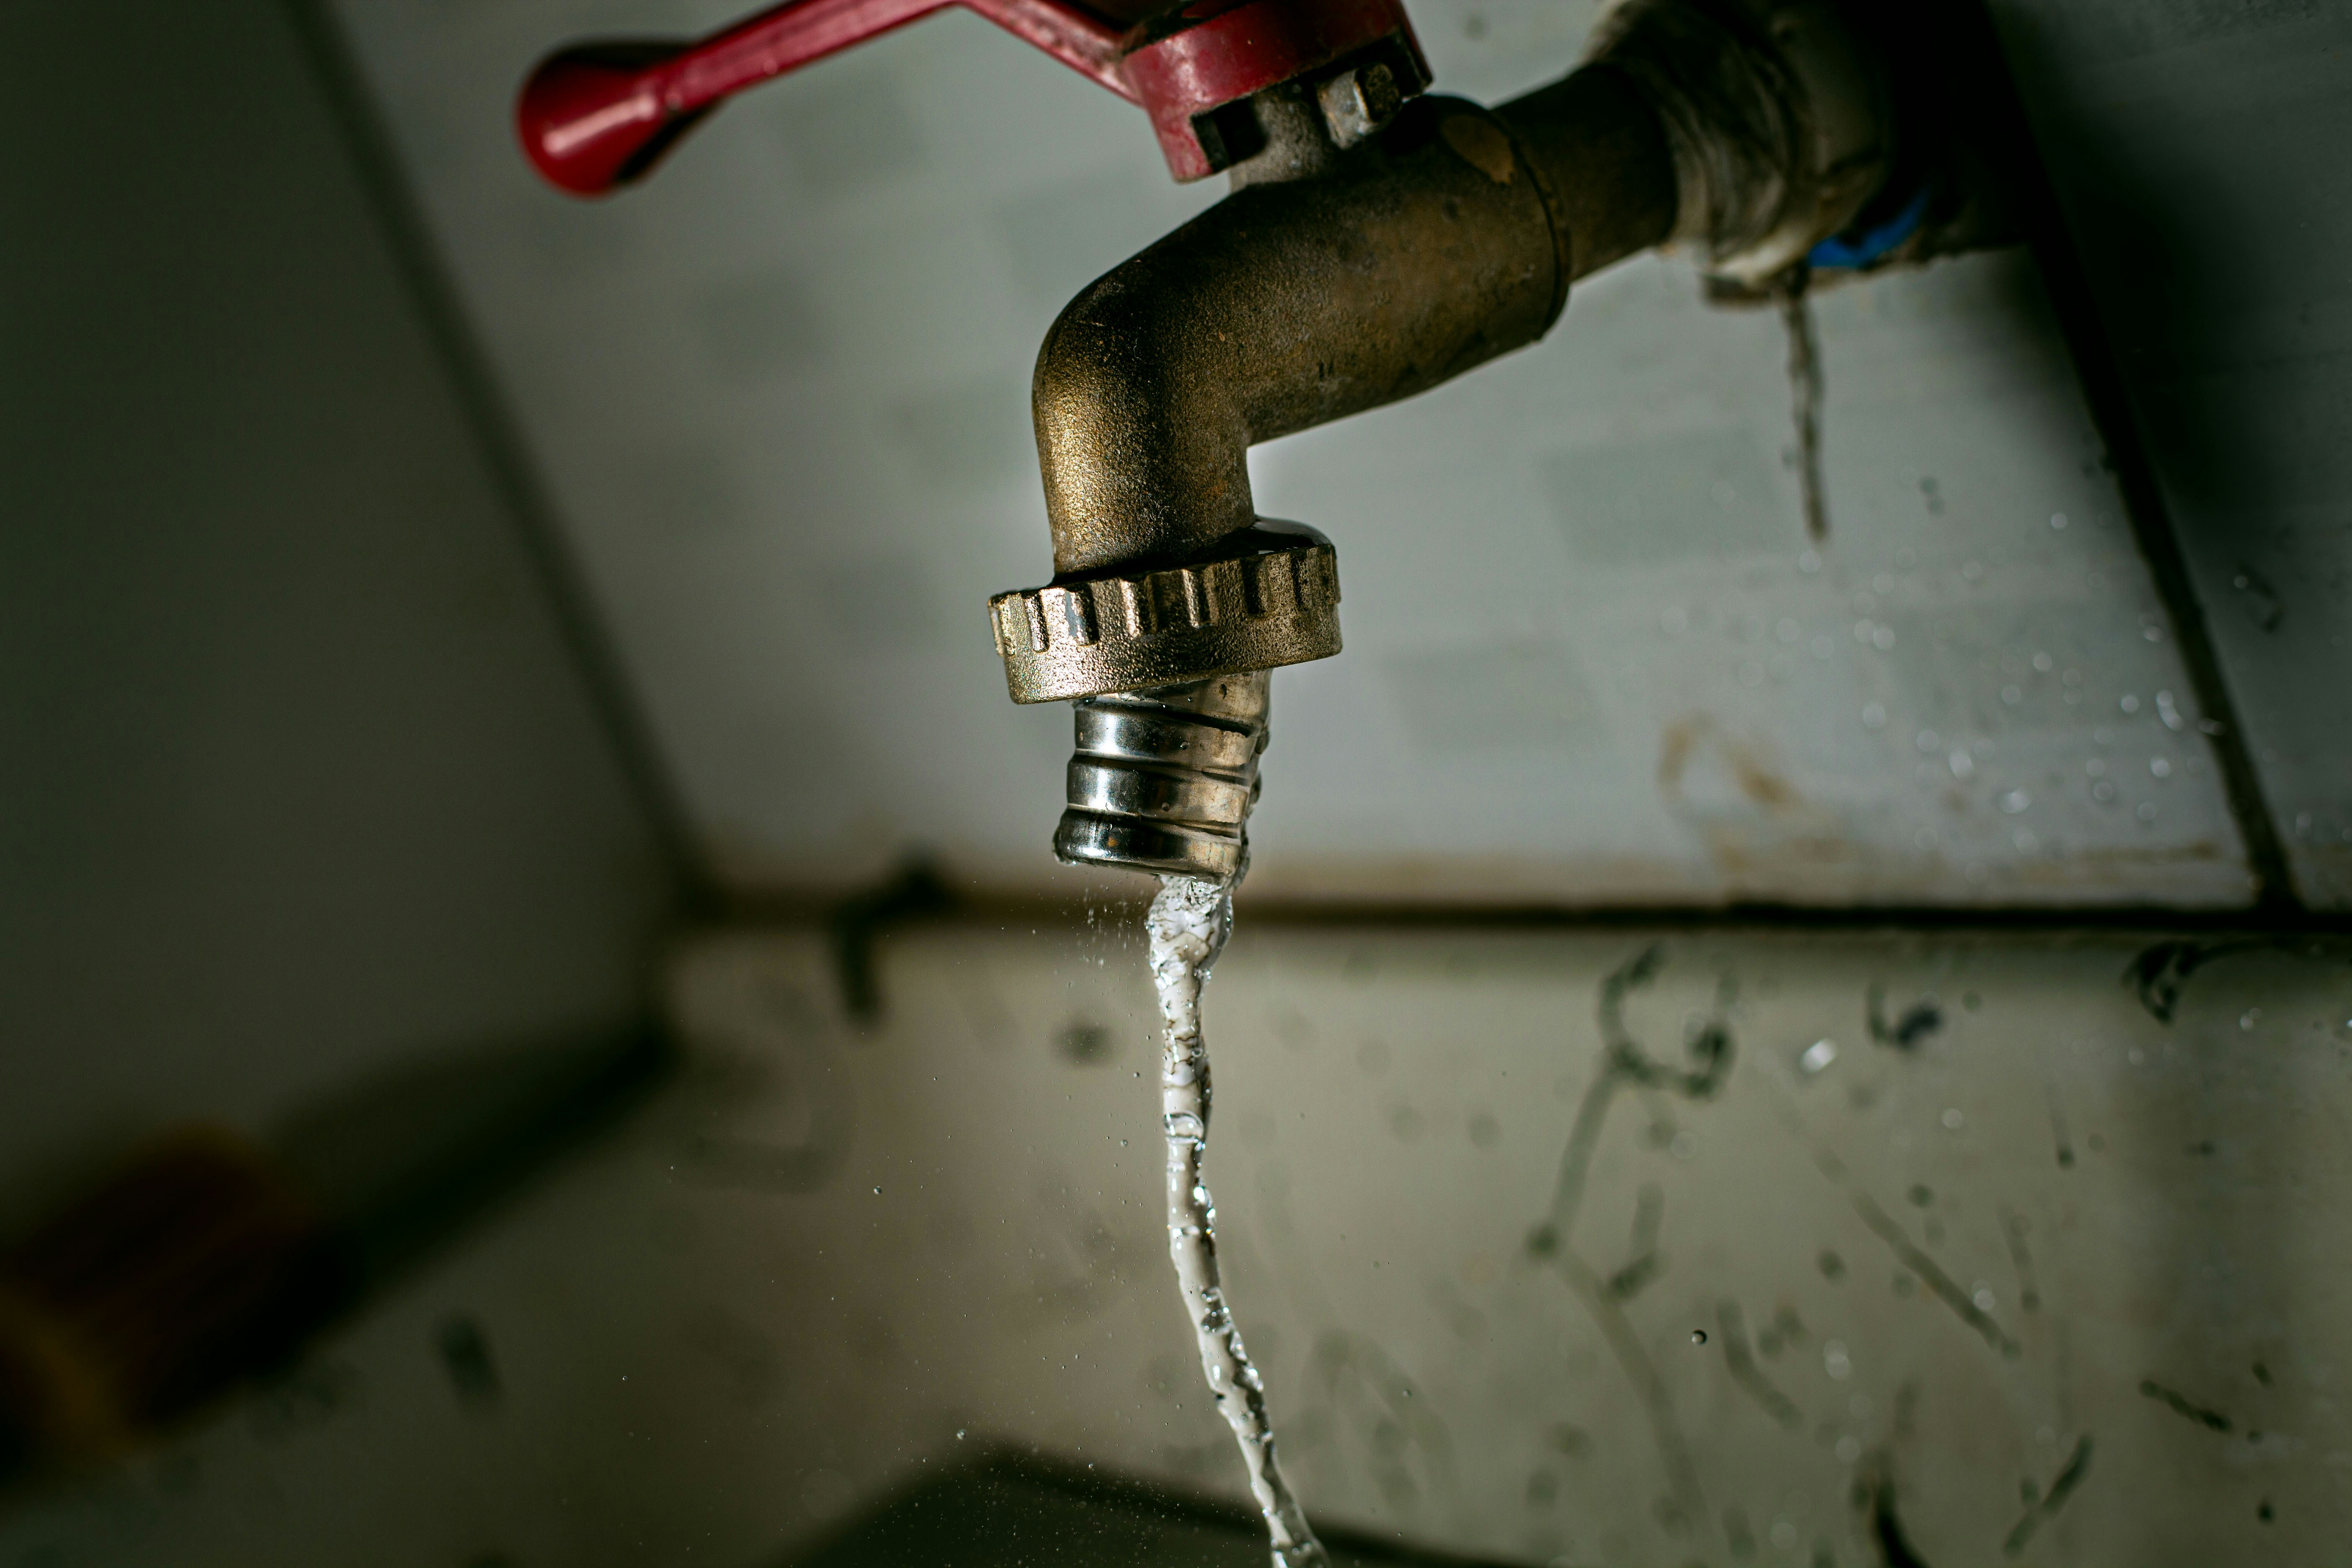
- The leak persists after a new washer: The brass “seat” inside the faucet body where the washer rests might be pitted or corroded from hard water. You will need a specialized seat-grinding tool to smooth it out, or you may need to replace the entire faucet.
- Water leaks from the handle when turned on: The packing nut is too loose, or the O-ring around the valve stem was damaged during reassembly. Tighten the nut slightly.
- Leak under the sink: If the cabinet below is wet, check the braided supply line connections. Tighten them by a quarter turn. This is crucial for overall water damage prevention.
- Squeaking handles: You didn’t use enough silicone plumber’s grease on the new O-rings or cartridge during assembly.
5. Prevention Tips
- Don’t over-tighten handles: Forcing a handle tightly closed crushes the rubber washers, dramatically shortening their lifespan.
- Replace washers every 2-3 years: Rubber degrades naturally. Preventative replacement stops leaks before they start.
- Check under sinks monthly: Catch hidden leaks early before they rot your cabinetry.
- Install a water softener: Hard water mineral scaling destroys ceramic cartridges and rubber seals quickly.
- Implement water saving tips: Install aerators on your faucets to reduce water flow while maintaining high pressure.
- Maintain water pressure: Keep your home’s main water pressure below 80 PSI to prevent blowing out delicate faucet seals.
6. When to Call a Professional
While swapping a cartridge is simple, you should call a plumber if the main water shut-off valves under the sink are completely seized with rust and won’t turn. Additionally, if the faucet body itself is cracked, or if you strip the retaining nut and cannot reassemble the unit, professional help is required. Plumbers typically charge £80-£200+ for standard repairs. Check our comprehensive PlumberCostUK guide to ensure you’re paying a fair rate. A professional can guarantee the leak is permanently fixed and assess your plumbing for underlying high-pressure issues.
7. FAQ
Q1: Why do faucets start leaking in the first place?
The most common cause is the degradation of internal rubber seals, washers, and O-rings due to friction, age, and hard water mineral buildup.
Q2: How much water does a leaky faucet actually waste?
A faucet that drips at a rate of one drip per second can waste upwards of 3,000 gallons of water per year, significantly impacting your water bill.
Q3: Can I really fix this myself without plumbing experience?
Yes. Replacing a washer or a modern cartridge is designed to be user-friendly and requires only basic screwdrivers and an adjustable wrench.
Q4: Where is the shut-off valve located?
It is typically located directly under the sink, on the wall or floor. There will be one for hot and one for cold. Turn them clockwise to shut off the water.
Q5: How much does a professional plumber cost to fix a leak?
Depending on your location in the UK and the time of day, a standard call-out and minor repair typically costs between £80 and £200.
Q6: Should I repair the leak or replace the entire faucet?
If the faucet is over 10 years old, heavily tarnished, or the internal brass seat is damaged, replacing the entire fixture is often a better long-term investment.
Q7: How can I prevent faucet leaks in the future?
Avoid cranking the handles shut with excessive force, maintain your home’s water pressure below 80 PSI, and consider a water softener to reduce scale buildup.
Q8: What if the supply lines under the sink are leaking?
If the braided hoses beneath the sink are wet, gently tighten the compression nuts. If they still leak, the internal rubber gasket has failed and the hose must be replaced.