Squeaky Floorboards? Quick Fixes to Silence the Noise
Updated for 2026 to reflect current UK emergency call-out pricing and insurance changes.
1. Introduction
Squeaky floorboards are a very common and usually harmless household issue, but they can be incredibly irritating, especially at night. The noise is typically caused by wood movement, loose nails rubbing against the floorboards, or gaps between the floorboard and the subfloor. Fortunately, you don’t need to replace your entire floor to get some peace and quiet. Most fixes take just 20 to 30 minutes to complete.
What you’ll need: A drill or screwdriver, specialized wood screws or break-off screws, wooden shims, talcum powder, and some painter’s tape. If the subfloor is extensively water-damaged or rotting, it will be time to call a professional.

Squeaky floorboards are caused by friction between loose boards and the nails holding them.
2. Quick Diagnosis
Before you start driving screws, you need to pinpoint exactly where the noise is coming from:
- Walk the floor: Slowly walk over the area to locate the exact squeaky spot.
- Check the board: Determine if the squeak is coming from a single loose board or multiple boards in an area.
- Listen for patterns: Does it squeak when you step on the center of the board, or only on the edges?
- Consider the weather: Check if the squeak is worse in certain weather (dry winters cause wood to shrink, increasing squeaks).
- Look for visible gaps: Inspect the floor for visible gaps between the boards or popped nail heads.
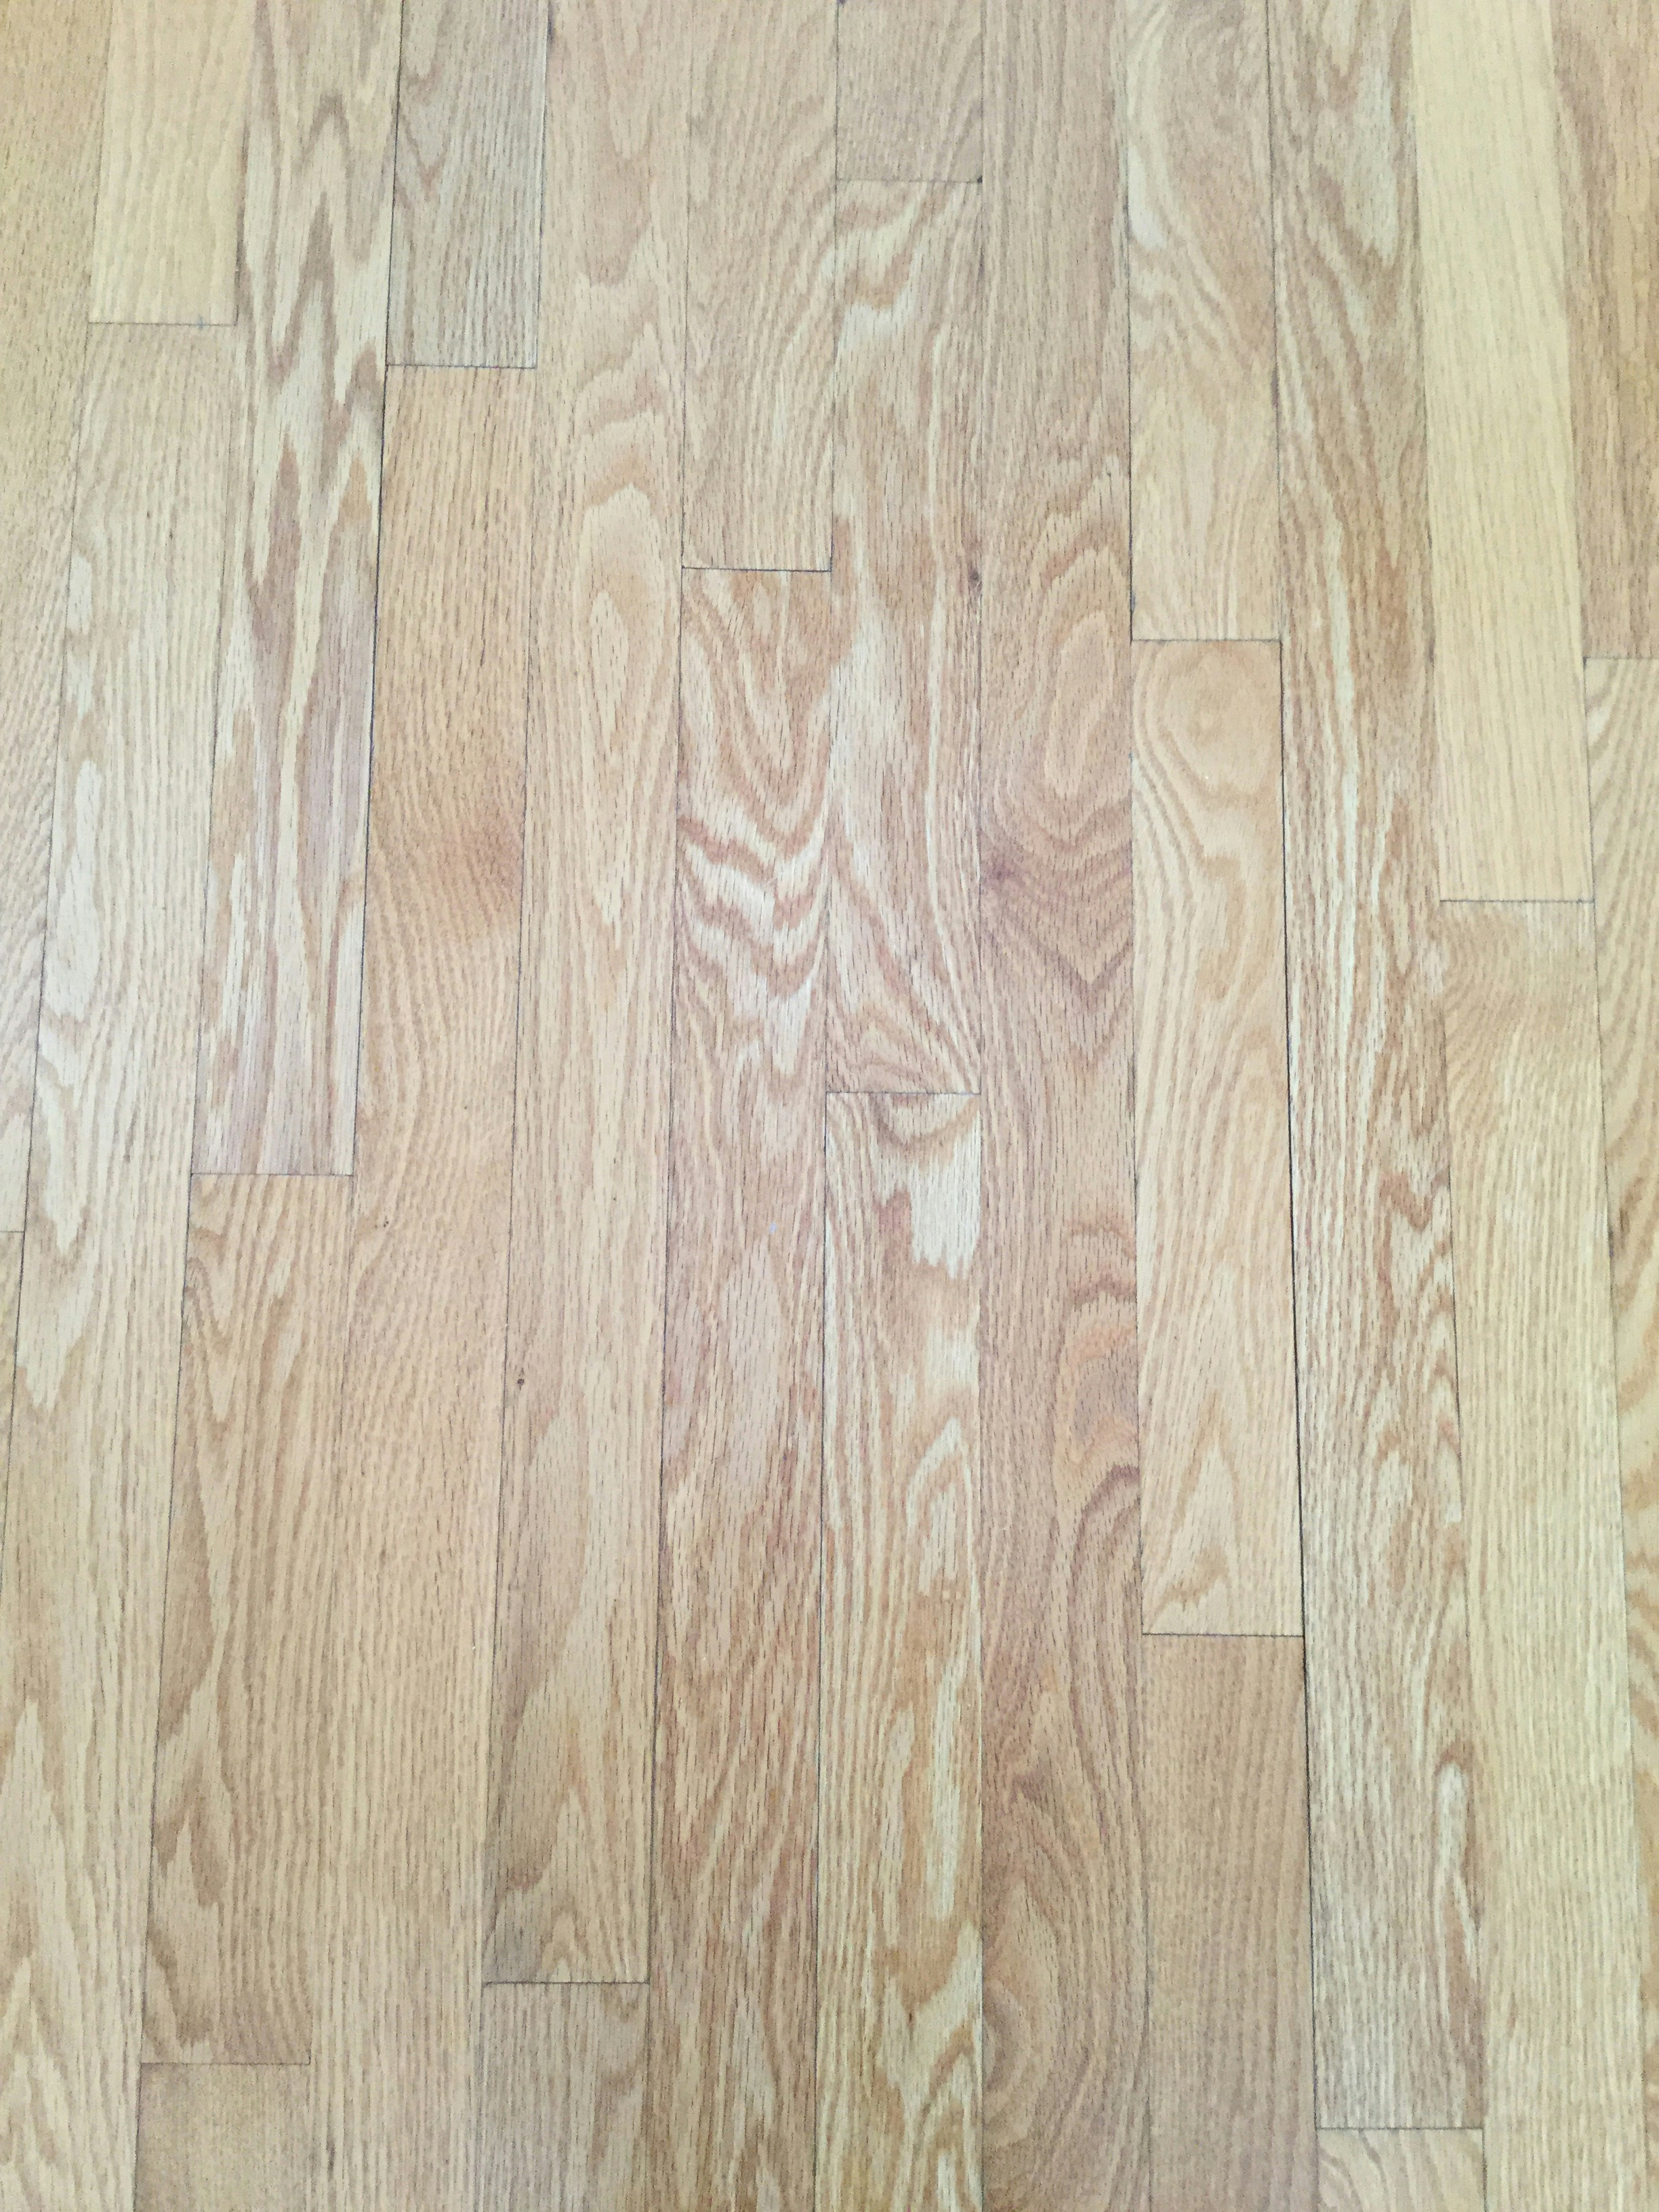
Close inspection reveals if the issue is a loose nail or a warped board.
3. Step-by-Step Fix
- Locate and mark the squeak: Have someone walk on the floor while you listen closely. Once you find the exact spot, mark it with a piece of painter’s tape so you don’t lose it.
- Drive screws through the floorboard: Use specialized wood screws (like trim-head screws) rather than nails, as screws will pull the board tight and won’t pop back out. Drive them at a slight angle directly into the underlying joist.
- Use shims to tighten boards (from below): If you have access to an unfinished basement or crawlspace below the squeaky floor, gently tap a wooden shim coated with wood glue into the gap between the joist and the subfloor. Do not over-tighten, or you’ll lift the floorboard.
- Nail down loose boards: If you must use nails, use finishing nails. Drive two nails at opposing 45-degree angles (toasting) into the subfloor to lock the board in place.
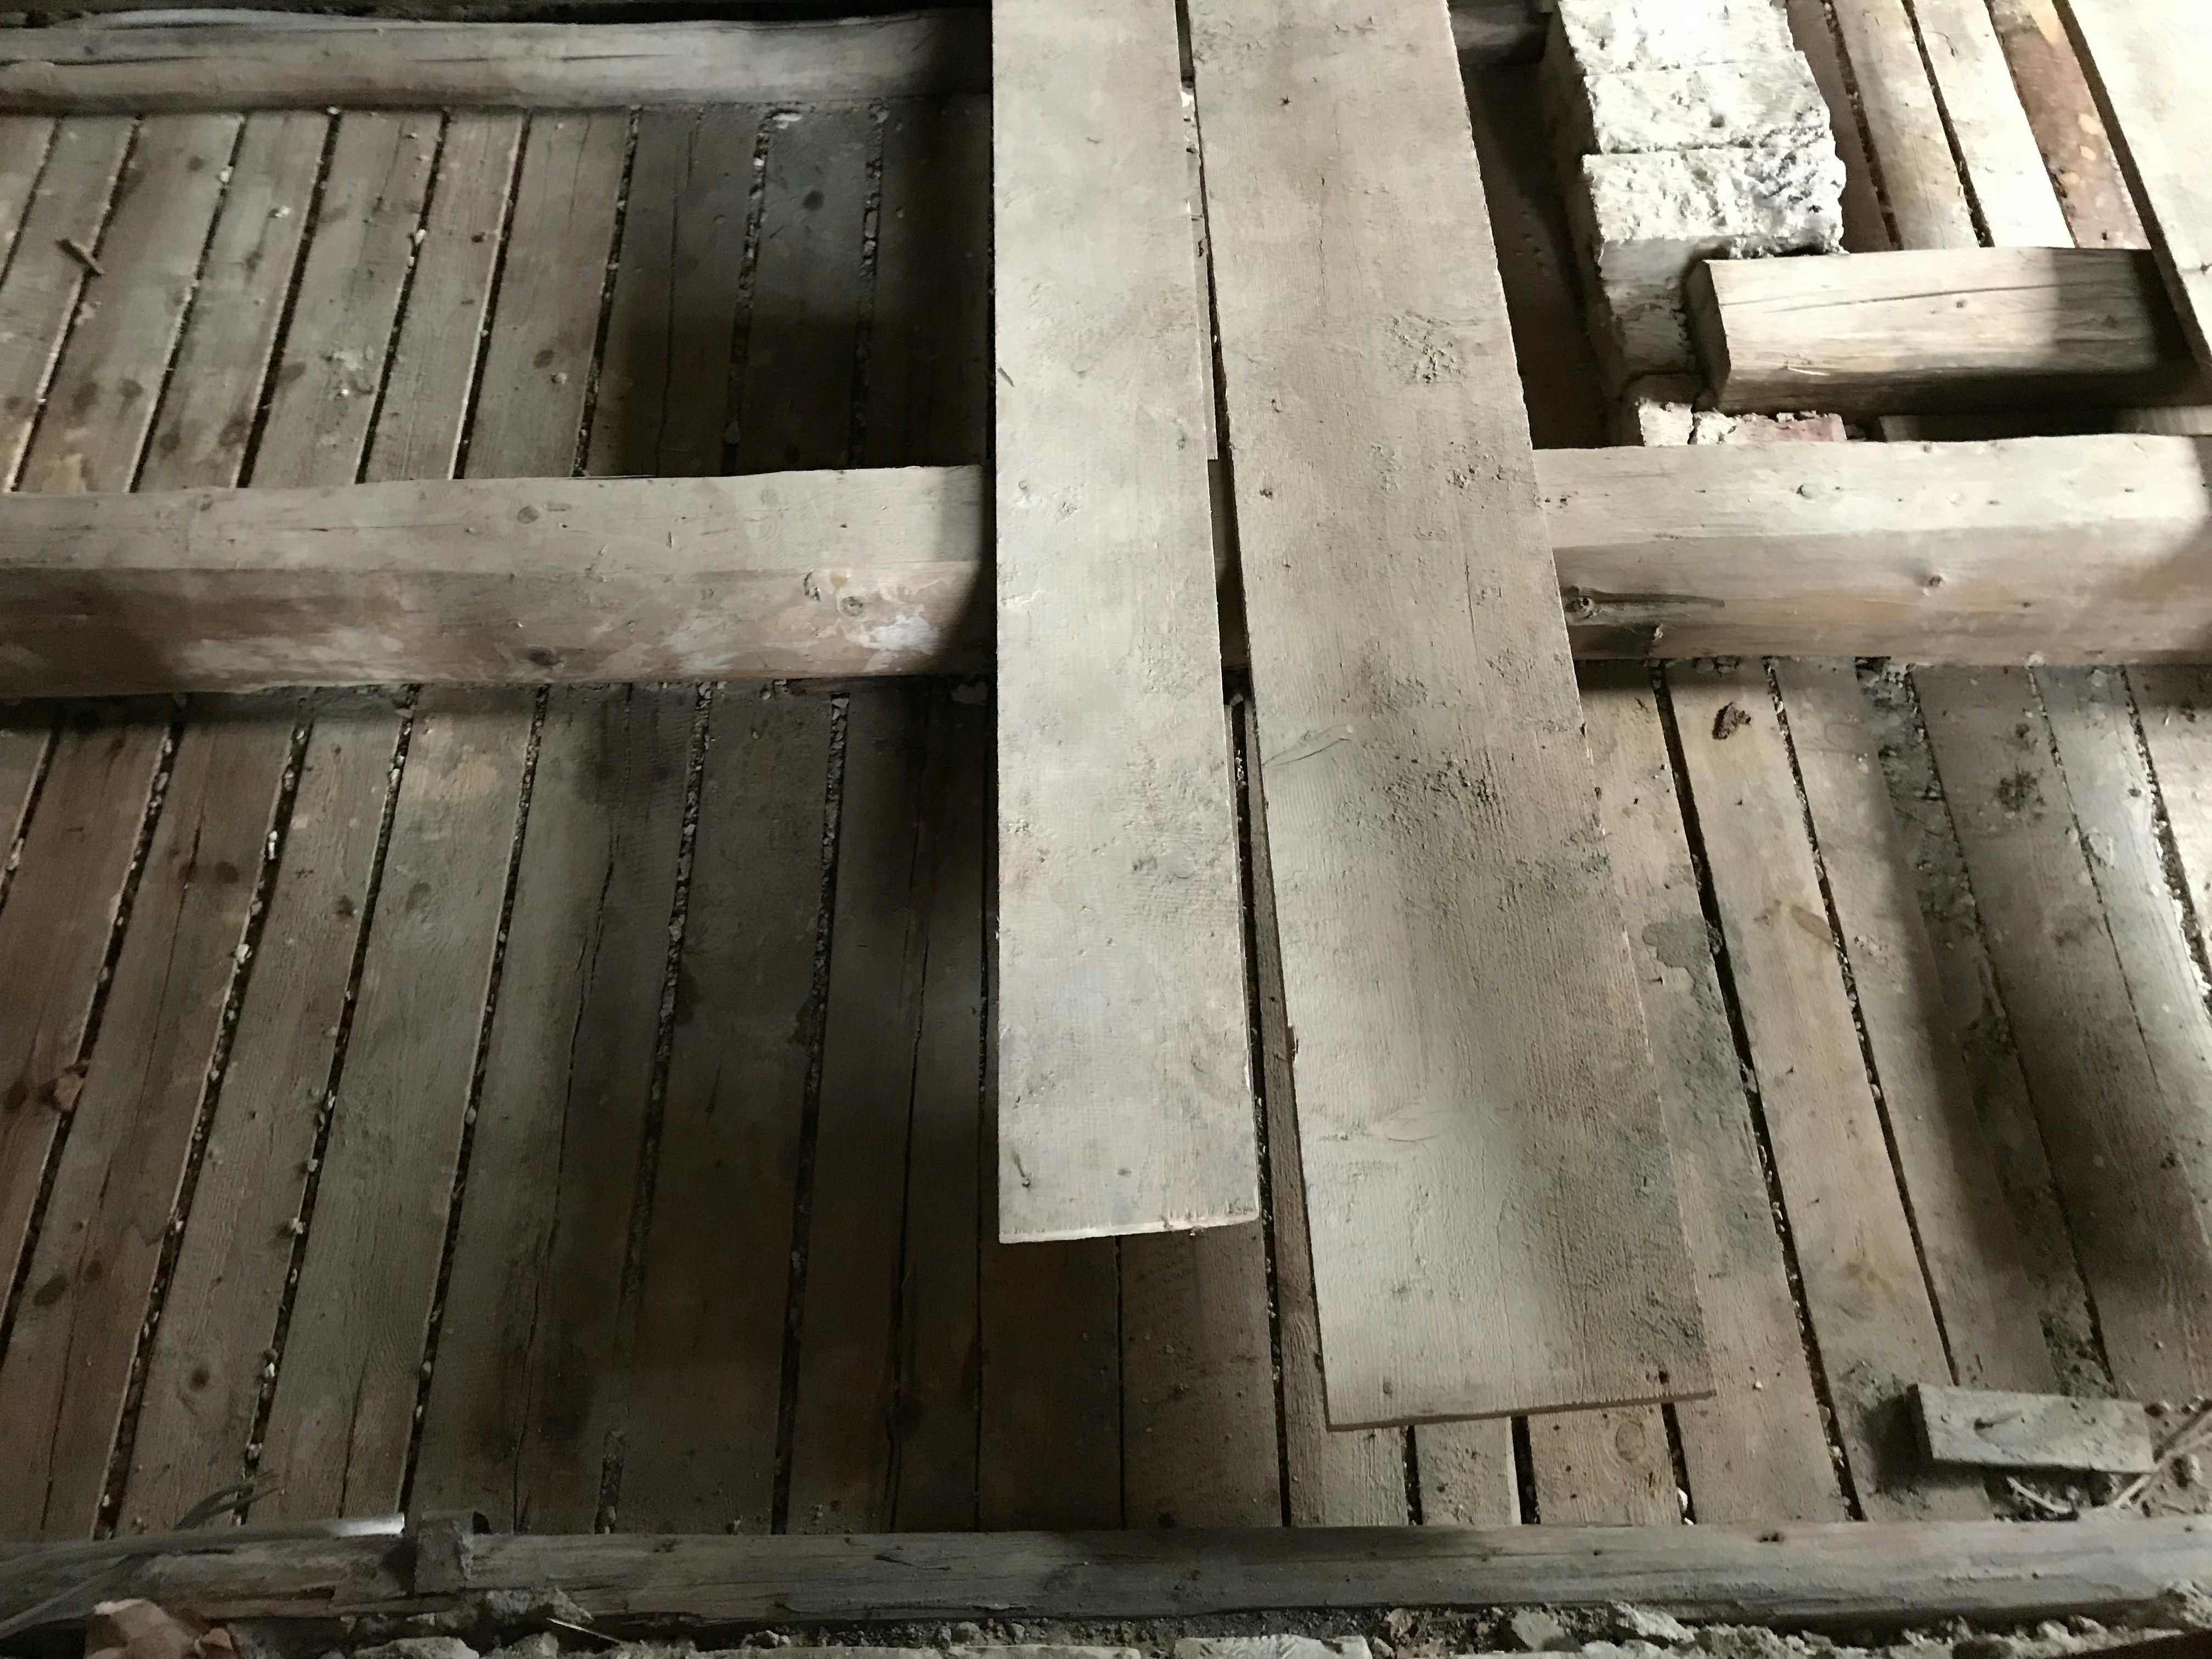
- Check the subfloor: Go to the basement or crawlspace to look for loose subfloor panels. If the subfloor is separating from the joists, drive screws upward through the joist into the subfloor (ensure the screws are short enough not to poke through your finished floor).
- Use talcum powder: For slight squeaks caused by boards rubbing against each other, sprinkle talcum powder, powdered graphite, or baking soda over the crack. Sweep it back and forth to force it between the boards, reducing friction.
- Replace damaged boards: If the floorboard is severely cracked, warped, or damaged beyond repair, it may need to be carefully cut out and replaced with a matching piece of wood.


4. Troubleshooting
- Squeak persists after screwing: You likely missed the joist beneath the floorboard. Use a stud finder to locate the exact center of the joist before screwing.
- Screws are visible: Use break-off screws designed for floors, or countersink the screws and fill the holes with color-matched wood putty.
- Floor is carpeted: You can buy specialized floor-squeak repair kits that allow you to drive a scored screw straight through the carpet into the joist, then snap off the head below the carpet line.
- Multiple areas squeaking loudly: The subfloor itself might have been installed poorly with nails instead of screws, requiring extensive subfloor re-securing.
5. Prevention Tips
- Maintain consistent indoor humidity levels year-round using humidifiers or dehumidifiers to prevent wood shrinkage and expansion.
- Wipe up water spills immediately to prevent the wood from swelling and warping.
- When installing new floors, always ensure the subfloor is screwed down, not just nailed.
- Use felt pads under heavy furniture to distribute weight evenly across the boards.
- Avoid wearing heavy boots or high heels indoors, which can loosen the floorboards over time.
- Regularly inspect the crawlspace for moisture issues that could degrade the subfloor.
6. When to Call a Professional
- The subfloor is extensively rotted from water damage or termite activity.
- You have a highly valuable antique hardwood floor and don’t want to risk damaging it.
- The squeaking is accompanied by noticeable sagging or bouncing in the floor (indicating structural joist damage).
- You cannot locate the joists to secure the boards properly.
- Professional floor repairs typically cost between £150 and £400+ depending on the severity. Check our repair cost guide for details.
7. FAQ
Q1: Why do floorboards squeak?
Squeaks happen when floorboards loosen from the joists and rub against the nail shafts, or when two adjacent boards rub against each other due to friction.
Q2: Are squeaky floors a sign of structural damage?
Usually not. It’s mostly a nuisance caused by seasonal wood expansion and contraction. However, severe sagging accompanying a squeak requires attention.
Q3: Can I fix a squeaky floor under carpet?
Yes, you can use specialized snap-off screw kits that drill right through the carpet without catching the threads, securing the board beneath.
Q4: Why use screws instead of nails?
Nails are smooth and can easily pull back out as the wood flexes. Screws have threads that bite into the wood, locking the floorboard tightly to the joist.
Q5: Does baby powder really work?
Yes, for minor squeaks caused by side-by-side board friction. The powder acts as a dry lubricant, stopping the boards from making noise when they rub.
Q6: How do I find the joists under the floor?
Use a high-quality stud finder, or look closely for the existing lines of nails in the floorboards. Joists are typically spaced 16 inches apart.
Q7: Should I fix squeaks from above or below?
If you have an unfinished basement, fixing it from below with shims is the best invisible fix. If not, you must fix it from above.
Q8: How much does a professional floor repair cost?
Minor fixes might cost £150 for a handyman’s time, but extensive structural or subfloor work can exceed £400 easily.