Cracked Grout? Quick Fixes to Repair and Prevent Damage
Updated for 2026 to reflect current UK emergency call-out pricing and insurance changes.
1. Introduction
Cracked, crumbling, or missing grout isn’t just an ugly cosmetic issue—it’s a critical weakness in your bathroom’s defenses. Water seeping through cracked grout in a shower or tub surround quickly penetrates the wallboard behind it, leading to devastating structural rot and dangerous black mold. Fixing cracked grout is a vital maintenance task that typically takes 30 to 45 minutes of active labor.
What you’ll need: A manual grout saw (or oscillating multi-tool), premixed or powdered grout matching your current color, a grout float, a large sponge, and a high-quality silicone caulk for corners. If the tiles themselves are physically loose or falling off the wall, water damage prevention has failed, and you will need professional reconstruction.
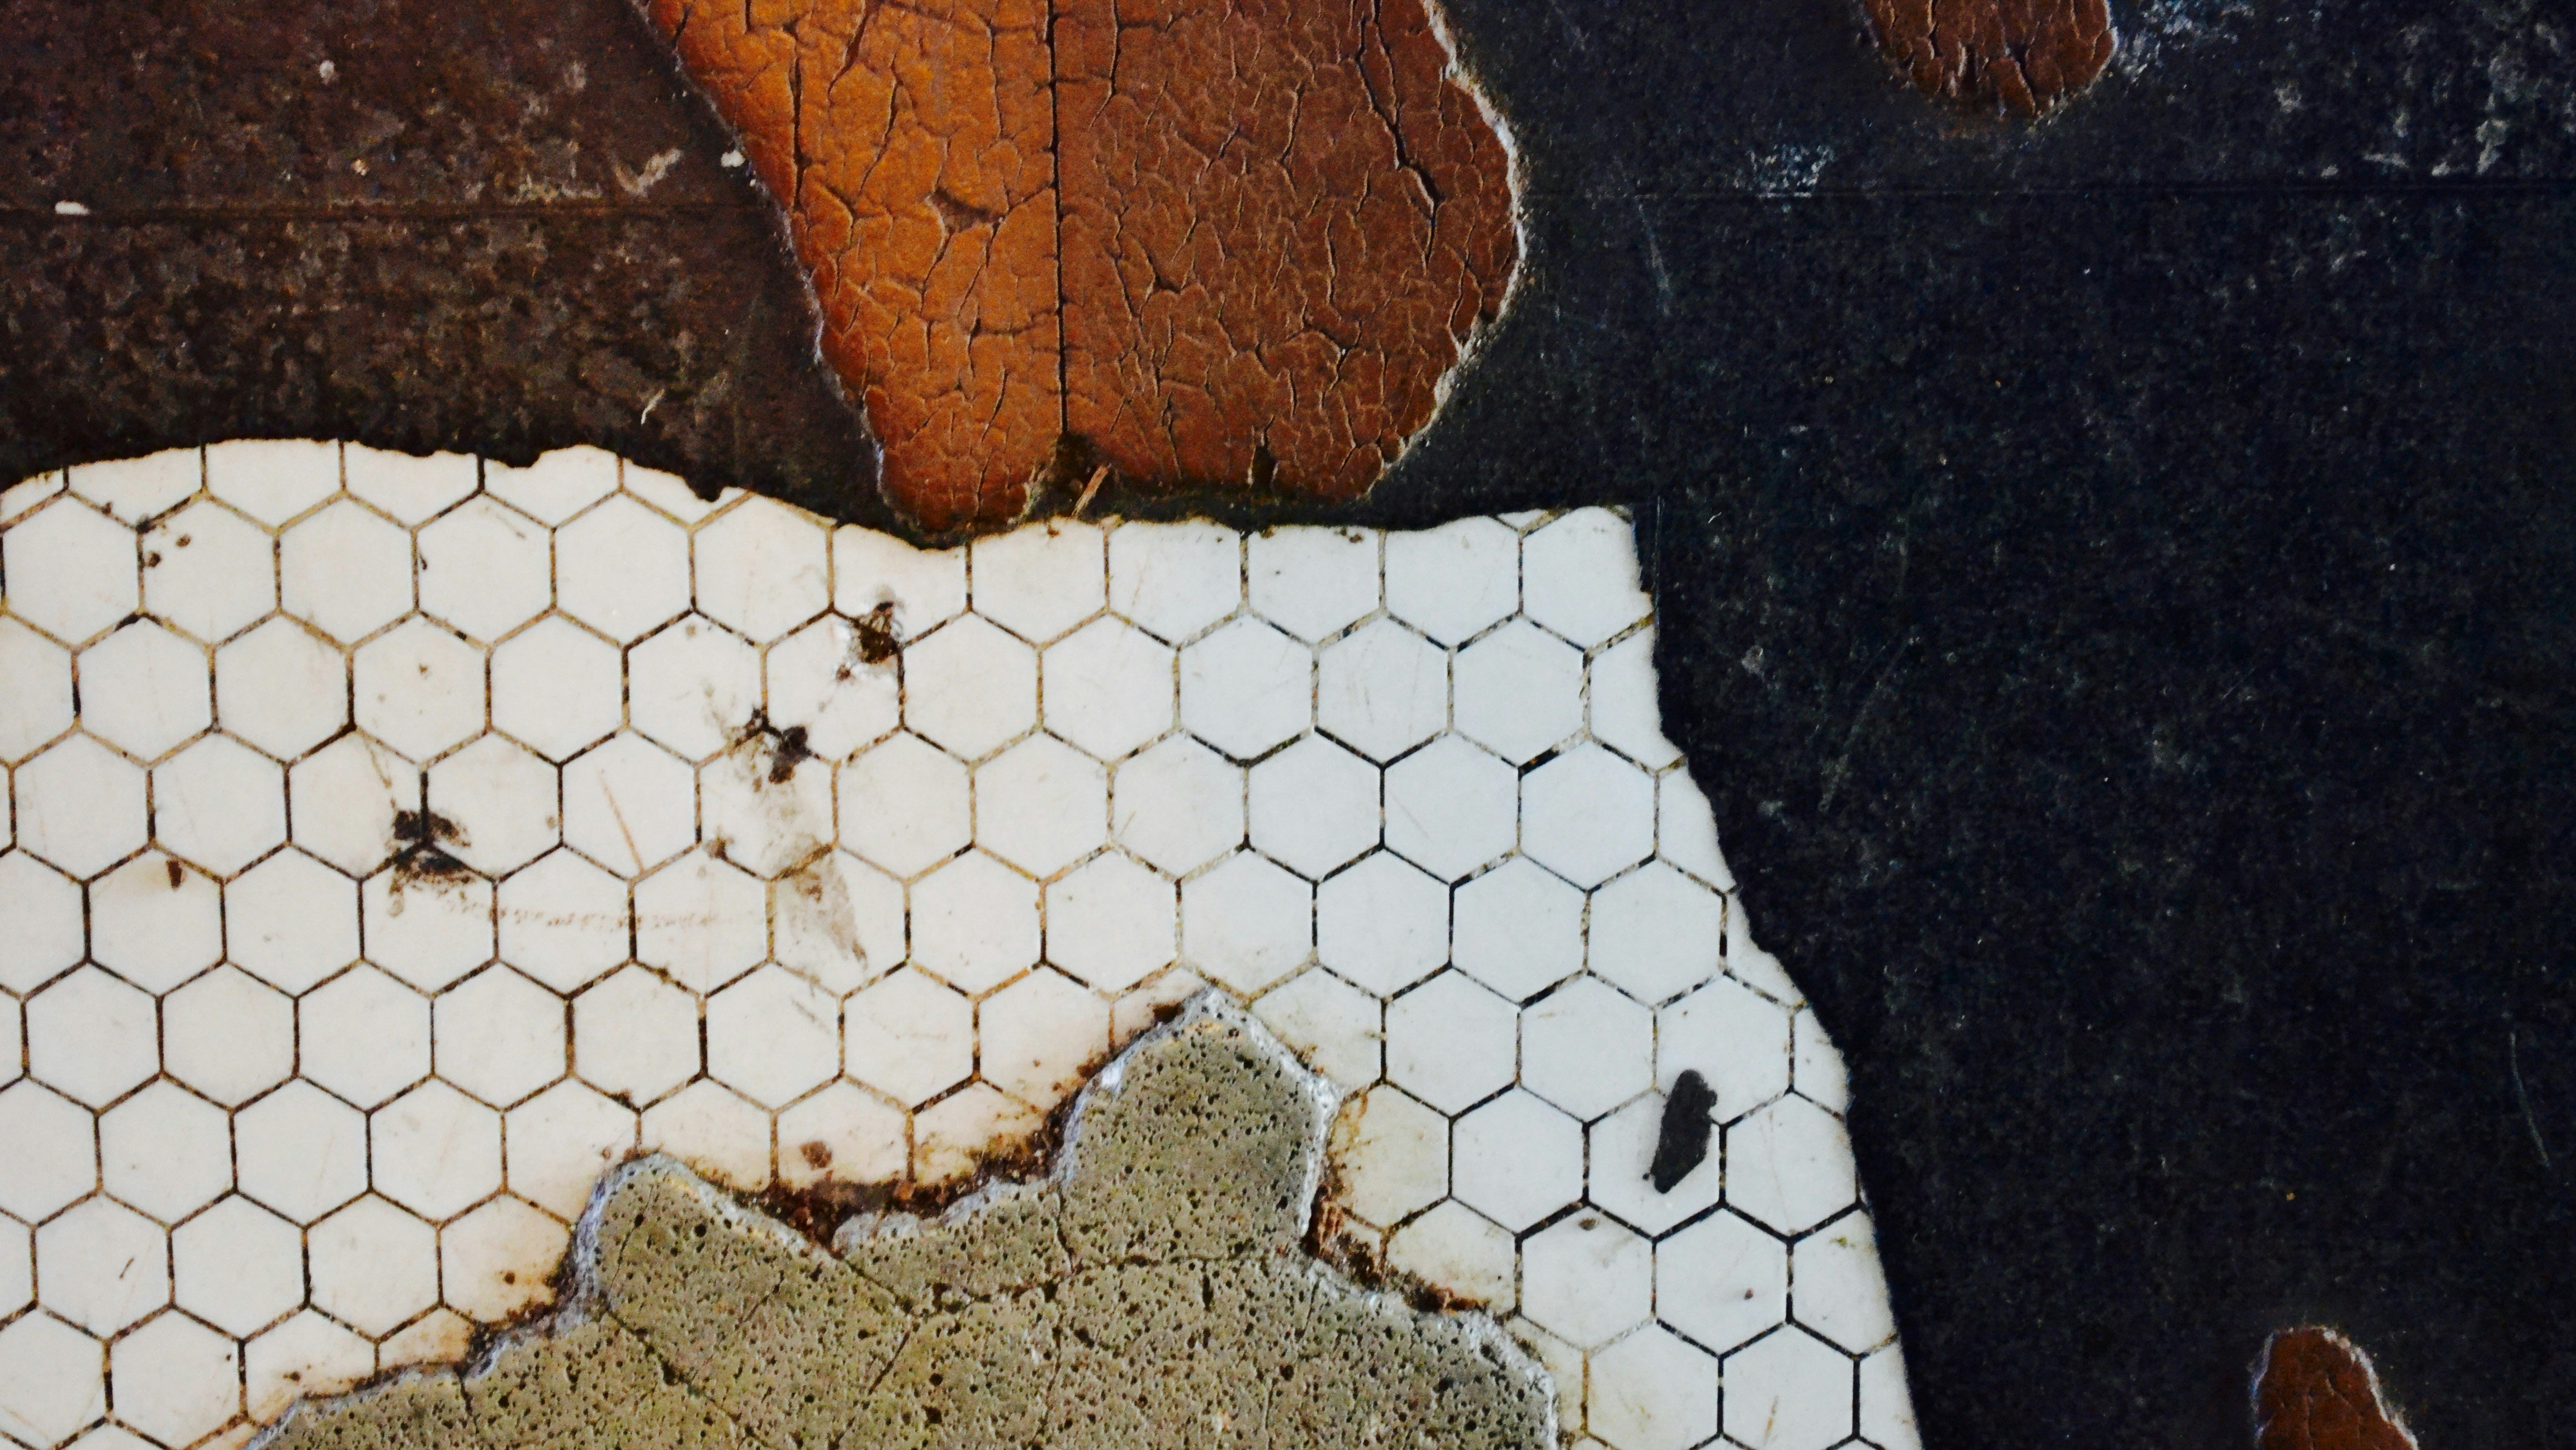
Even hairline cracks in shower grout allow massive amounts of moisture into the walls.
2. Quick Diagnosis
Evaluate the condition of your tile wall before you start ripping out grout:
- Identify visible cracks: Look for hairline fractures, crumbling intersections, or entire chunks of missing grout.
- Check for water seeping: Press firmly on the tiles near the cracks. Does water squish out? This indicates trapped moisture behind the tile.
- Check for mold and discoloration: Dark black or pink stains deep in the grout lines usually mean moisture has breached the seal.
- Test for loose tiles: Tap the tiles with the handle of a screwdriver. A hollow, drum-like sound, or physical wiggling, means the adhesive behind the tile has failed due to water damage.

If the tiles wiggle when you touch them, the wallboard behind them is likely rotted.
3. Step-by-Step Fix
- Remove the old grout: You cannot just smear new grout over old, cracked grout—it will flake right off. Use a manual carbide-tipped grout saw (or an oscillating power tool with a grout removal blade) to scrape out the damaged grout. You need to remove at least half the depth of the tile to give the new grout room to grab hold.
- Clean the grout lines: Use a shop vacuum to suck out all the dust and debris from the newly opened channels. Wipe the area down with a damp cloth and let it dry completely. Any remaining dust will weaken the new grout’s adhesion.
- Apply new grout: Mix your powdered grout according to the package directions (it should have the consistency of thick peanut butter), or use a pre-mixed tub. Scoop some onto a rubber grout float. Press it firmly into the joints by swiping diagonally across the tiles at a 45-degree angle. Ensure the cracks are packed completely full.
- Remove excess grout: Wait 15 to 30 minutes for the grout to firm up slightly in the joints. Take a large, damp (not soaking wet) sponge and gently wipe across the tiles in a circular motion to remove the excess grout from the tile faces without pulling it out of the joints.
- Let the grout cure: Allow the grout to cure completely. After a few hours, a cloudy haze will appear on the tiles. Buff this haze off with a dry microfiber cloth. Do not use the shower for at least 48 to 72 hours, depending on the manufacturer’s instructions.
- Seal the grout: Cement-based grout is naturally porous and will absorb water if left unsealed. Once fully cured (often 3 days later), apply a high-quality penetrating grout sealer using a small foam brush or applicator bottle. Wipe off any excess sealer from the tile faces.
- Use caulk in the corners (Crucial Step): Grout will always crack if placed in 90-degree internal corners (where walls meet, or where the wall meets the tub). Houses shift naturally. You must use a flexible, mold-resistant silicone caulk in all corners, never rigid cement grout.


4. Troubleshooting
- The new grout won’t stick: You didn’t scrape deep enough into the old joint. You must carve out at least 1/8 to 1/4 inch of depth for the new grout to anchor securely.
- The grout keeps cracking in the corners: As mentioned above, normal house settling causes corners to flex. Rigid grout cannot withstand this movement. Dig it out and replace it with flexible silicone caulk.
- Water seeping through the new grout: You likely skipped the final sealing step. Proper tile maintenance requires sealing cement-based grouts annually.
- Mold returning deep in the lines: The moisture barrier behind the tile is compromised, trapping water in the wall cavity. Surface fixes won’t solve this.
5. Prevention Tips
- Seal grout annually: Mark your calendar to re-seal your shower grout every 12 to 18 months.
- Keep the shower dry: Run a bathroom exhaust fan for 30 minutes after showering to remove humidity.
- Use a squeegee: Wipe down the tile walls after every shower to prevent standing water from penetrating the grout lines.
- Caulk all changes in plane: Always use 100% silicone caulk, not grout, anywhere two walls meet or where the wall meets the tub basin.
- Avoid harsh chemical cleaners: Bleach and highly acidic cleaners slowly eat away at the top layer of cement grout, making it porous and prone to crumbling.
- Fix minor cracks promptly: Do not wait for a hairline crack to become a missing chunk. Minor touch-ups save thousands in wall repair.
6. When to Call a Professional
If your tiles are bowing outward, physically loose, or spongy when you push against them, the water has already rotted the structural drywall or plaster behind the tiles. At this stage, re-grouting is useless. The entire section must be ripped down to the studs, re-boarded with waterproof cement board, and re-tiled. A professional tiler or bathroom fitter will be required. Extensive water damage repair and re-tiling typically costs between £150 and £400+ per square meter. Check our comprehensive repair cost guide for detailed estimates.
7. FAQ
Q1: Why does grout crack in the first place?
Poor initial installation (too much water in the mix), natural settling of the house’s wooden framing, and heavy impact or vibrations are the main causes.
Q2: Can I fix this myself?
Yes, minor grout repair is a simple, albeit tedious, DIY project requiring only cheap hand tools and materials.
Q3: What is the difference between grout and caulk?
Grout is a rigid, cement-based material used between tiles on a flat plane. Caulk is a flexible, rubbery sealant used in corners and joints that may experience movement.
Q4: How long does grout take to dry?
While it may feel hard in a few hours, most cement grouts require 48 to 72 hours to fully cure before they can be exposed to water or sealed.
Q5: Do I really need to seal my grout?
Yes. Unless you are using highly expensive epoxy grout, standard cement grout is porous like a sponge and will absorb water and soap scum if not sealed.
Q6: How much does professional regrouting cost?
Hiring a professional to completely grind out and regrout an average shower typically costs between £200 and £400 depending on the tile size and labor involved.
Q7: What if my tiles are physically loose?
Loose tiles mean the adhesive and backing board have rotted from water exposure. Regrouting won’t fix this; the wall must be rebuilt.
Q8: How can I prevent grout from cracking again?
Ensure your bathroom is well-ventilated, seal the grout lines annually, and strictly use flexible silicone caulk in all 90-degree corners.